Building a Mintlify Alternative with AI (Part 1): From Idea to "Hello World" in Under an Hour
A step-by-step guide to planning, prototyping, and setting up a Next.js documentation platform using AI-driven development.
In this tutorial, we'll build TinyDocs, an open-intent alternative to Mintlify, using AI-driven development to handle planning, research, and coding.
▶️ Click above to watch the complete video walkthrough of this tutorial
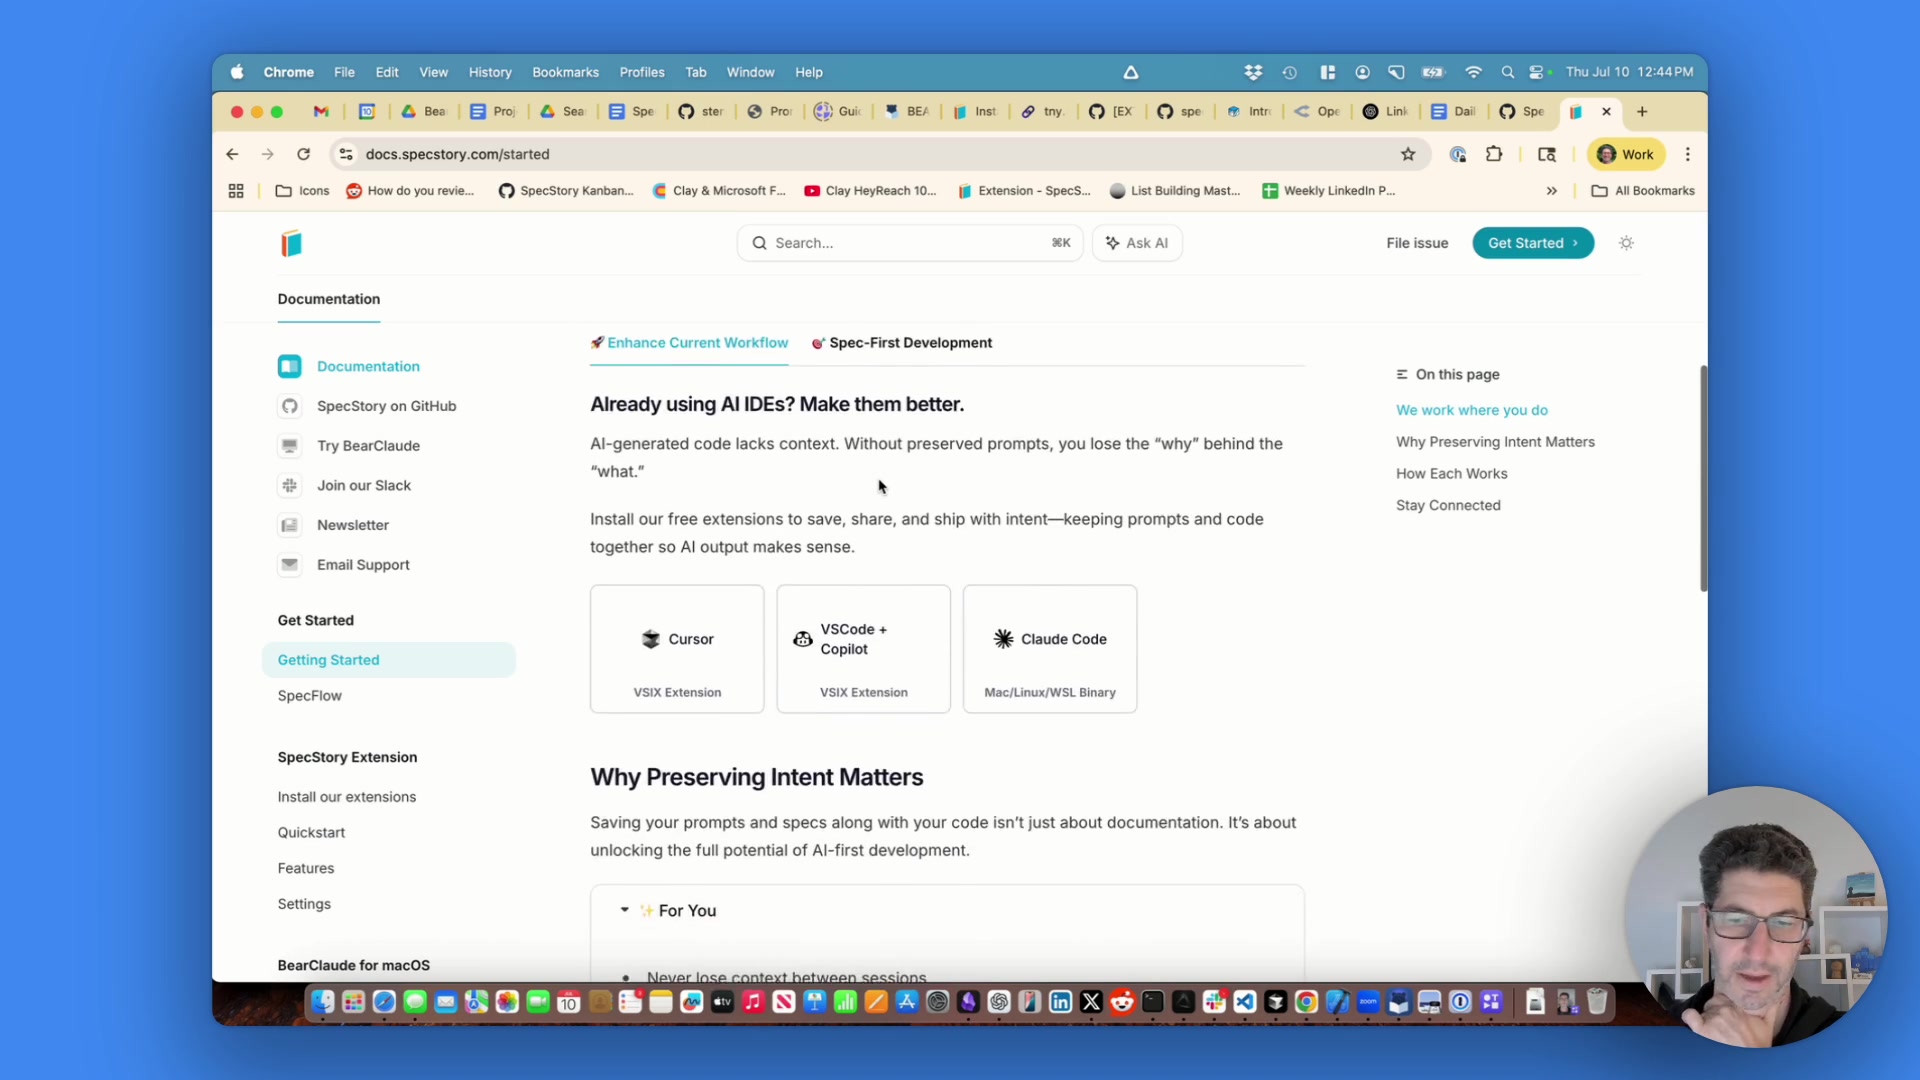
Have you ever looked at a SaaS tool and thought, "This is great, but I wish it weren't so expensive?" That's exactly the thought that kicked off this project. Tools like Mintlify are fantastic for creating beautiful, professional documentation sites from Markdown files. They offer a seamless experience, managing everything through a Git repository. But for small teams or solo founders, the price tag can be a bit steep.
This sparked a question: could we build a simpler, open-source alternative? Something that captures the core magic of Mintlify—like auto-deploying from Markdown updates and having a built-in editor—but without the hefty monthly bill. In this post, I'll walk you through the very first steps of building this "Micro SaaS" project, which we're calling TinyDocs. We'll go from a blank page to a fully planned, prototyped, and running Next.js application, all with the help of an AI coding agent.
We'll cover the entire initial process: brainstorming the concept, defining user needs, researching the right technologies, scaffolding the project with AI, and even pushing our first commit to GitHub. Whether you're curious about AI-driven development or looking to build your own documentation solution, this guide will give you a practical roadmap to get started.
The Vision: A Simpler, Cheaper Mintlify
The goal isn't to clone Mintlify feature-for-feature. The inspiration comes from its excellent developer experience: your documentation lives as Markdown or MDX files in a repository, making it easy to manage and version control.
Caption: Documentation sites like this one, built with Mintlify, are powerful but can be costly.
However, Mintlify's strength can also be its complexity. We want to build something simpler. The core vision for TinyDocs is to provide an affordable, easy-to-use, and deeply customizable documentation platform for technical founders and small software teams. A key part of this vision is making it "open intent," meaning anyone can take our open spec and build or extend their own version.
Phase 1: Planning and Brainstorming with AI
Instead of jumping straight into coding, a solid plan is crucial for a better outcome, especially when working with AI. For this, we used an AI-powered project planner to structure our thoughts and make key decisions upfront.
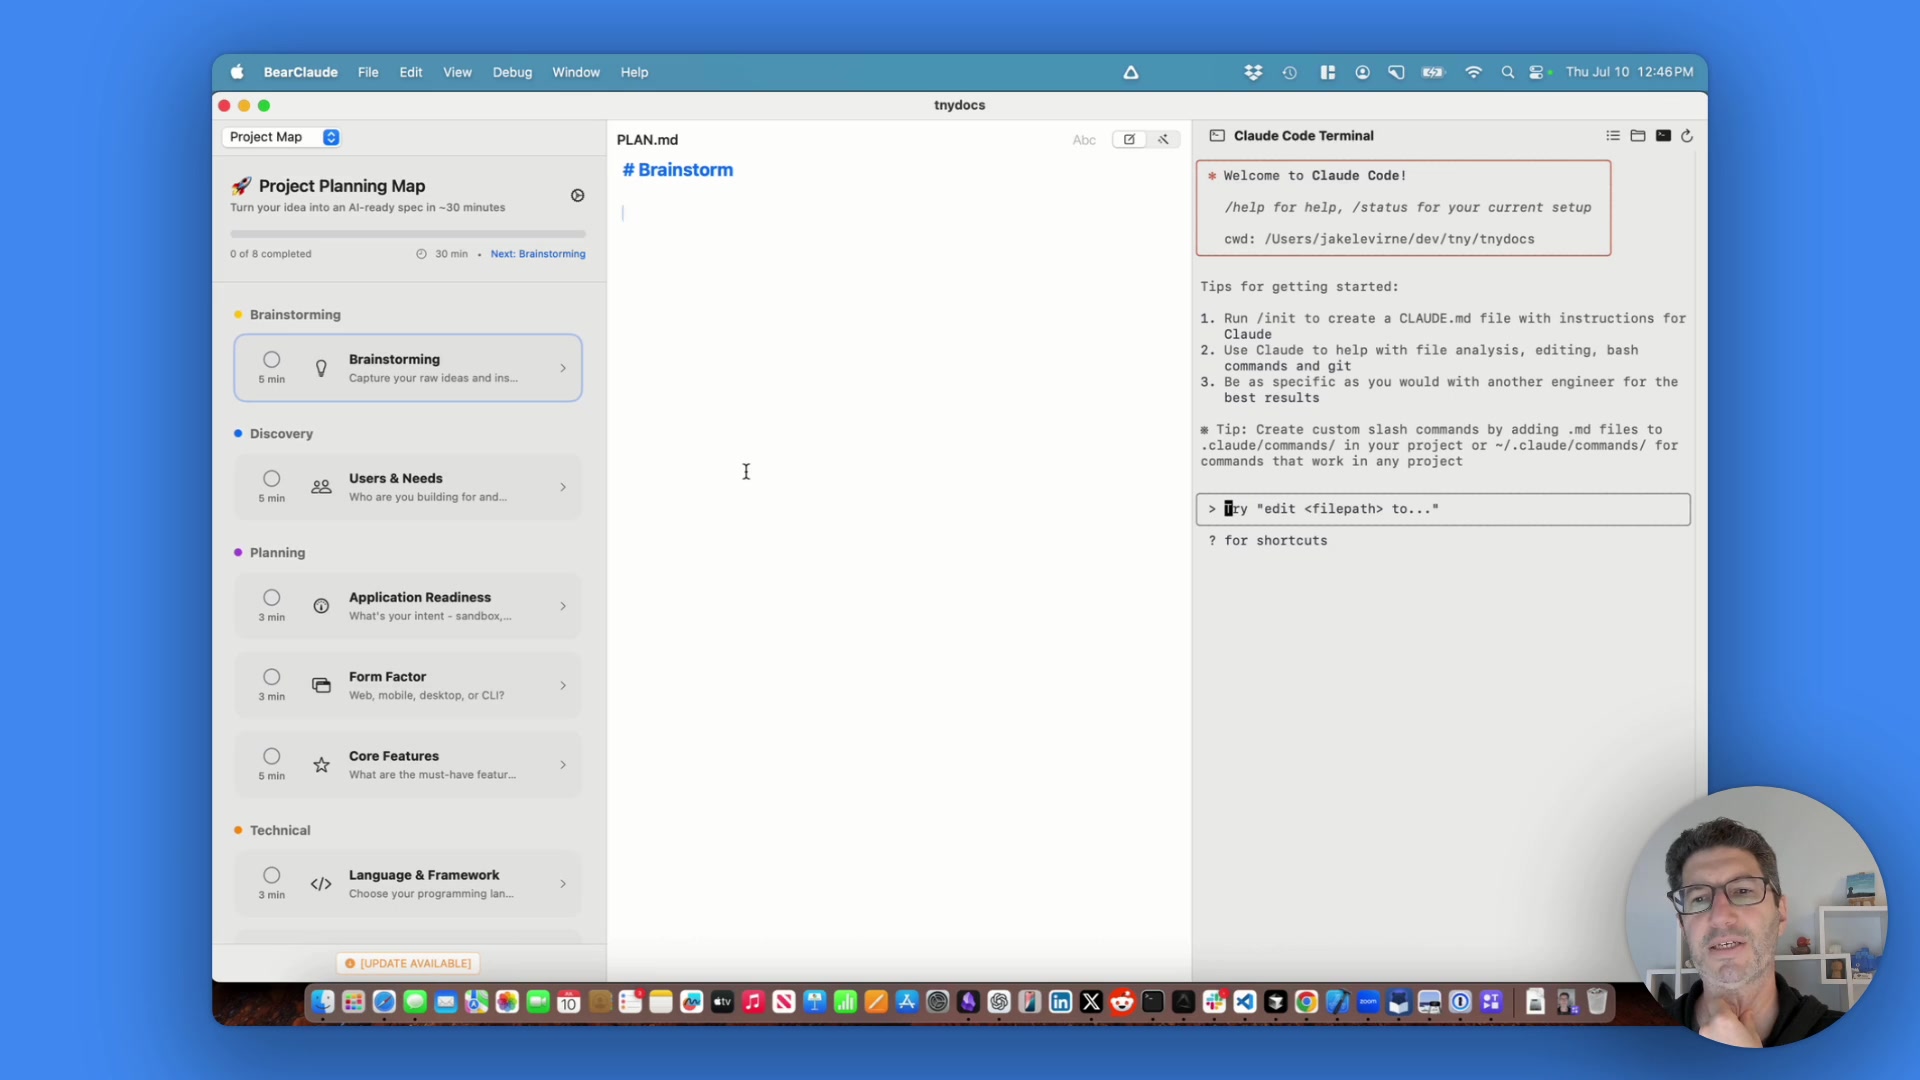
Caption: Using a structured planning tool helps guide the brainstorming process for a better final product.
Defining the Core Idea
We started with a simple prompt to capture the essence of the project:
This is a documentation site app. It should let you create, manage, and publish your docs. It should feel a lot like mintlify except simpler. It autogenerates documentation from your project's code and AI chat history.
This initial thought process helped us establish the main pillars:
-
Creation, Management, Publishing: The core lifecycle of documentation.
-
Mintlify-like Feel: A high-quality, modern user experience.
-
Simplicity: Avoid feature bloat and focus on the essentials.
-
AI-Powered Generation: A key differentiator to speed up the initial documentation process.
Researching the Tech Stack
With a basic idea in place, the next step was to explore the specific technologies. This is where the messy, non-linear part of development often happens, and it's a perfect task for an AI assistant.
MDX vs. Markdoc vs. Quarto
Mintlify uses MDX, which allows you to embed JSX components directly in your Markdown. This is incredibly powerful for creating interactive and rich content. But are there other options? We explored a few:
-
Markdoc: An open-source, Markdown-based format from Stripe. It's great for structured, consistent documentation with custom tags but isn't designed for the kind of live, interactive editing we envisioned.
-
Quarto: A system designed for scientific and technical publishing. It's fantastic for computational documents (think Jupyter notebooks) but felt like overkill for our needs.
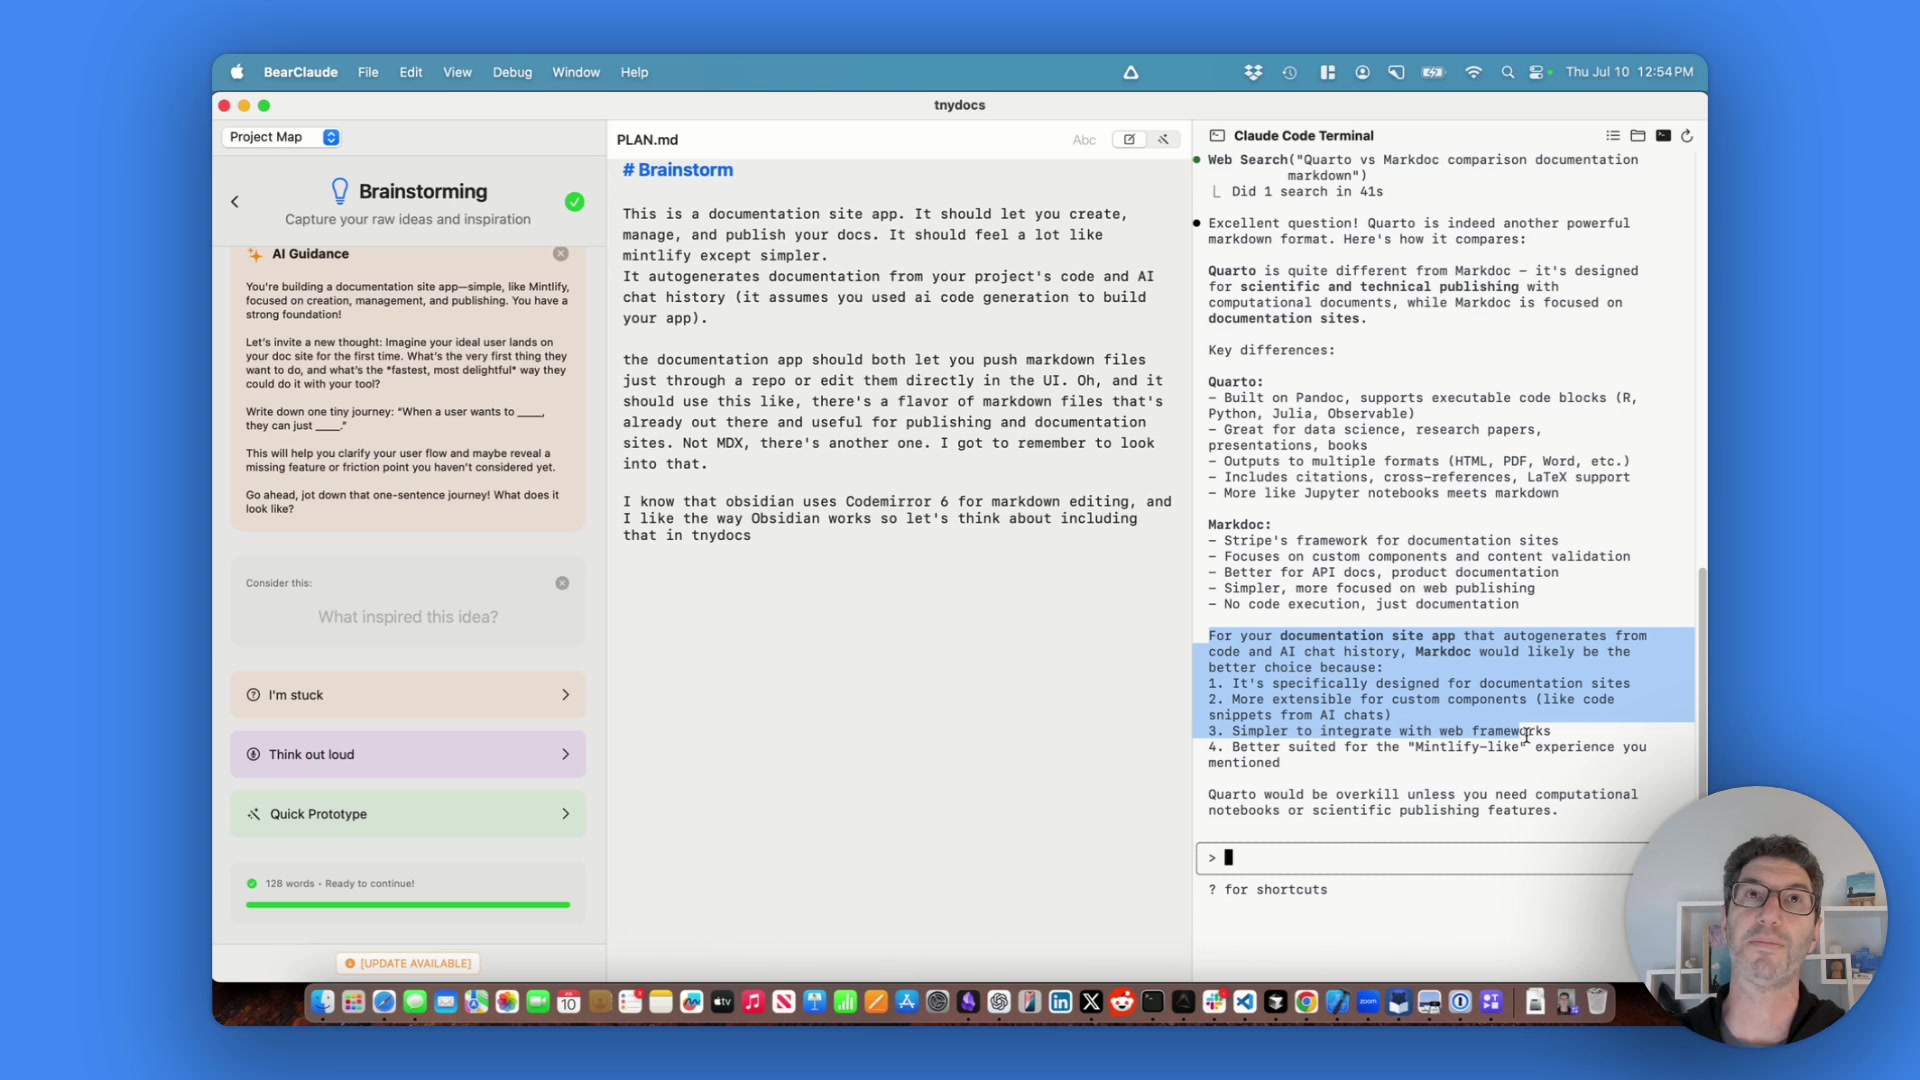
Caption: Researching different documentation formats to find the best fit for our project's goals.
Ultimately, the AI's recommendation was clear: stick with MDX. It offers the perfect balance of content and interactivity, and it's already used by industry leaders like Mintlify, Docusaurus, and Next.js.
The Perfect Markdown Editor
A great documentation site needs a great editor. My personal favorite is the one in Obsidian because of its seamless, inline preview. A quick query to our AI assistant revealed that Obsidian uses CodeMirror 6. This became a key technical requirement for TinyDocs—we want that same fluid, WYSIWYG-like editing experience.
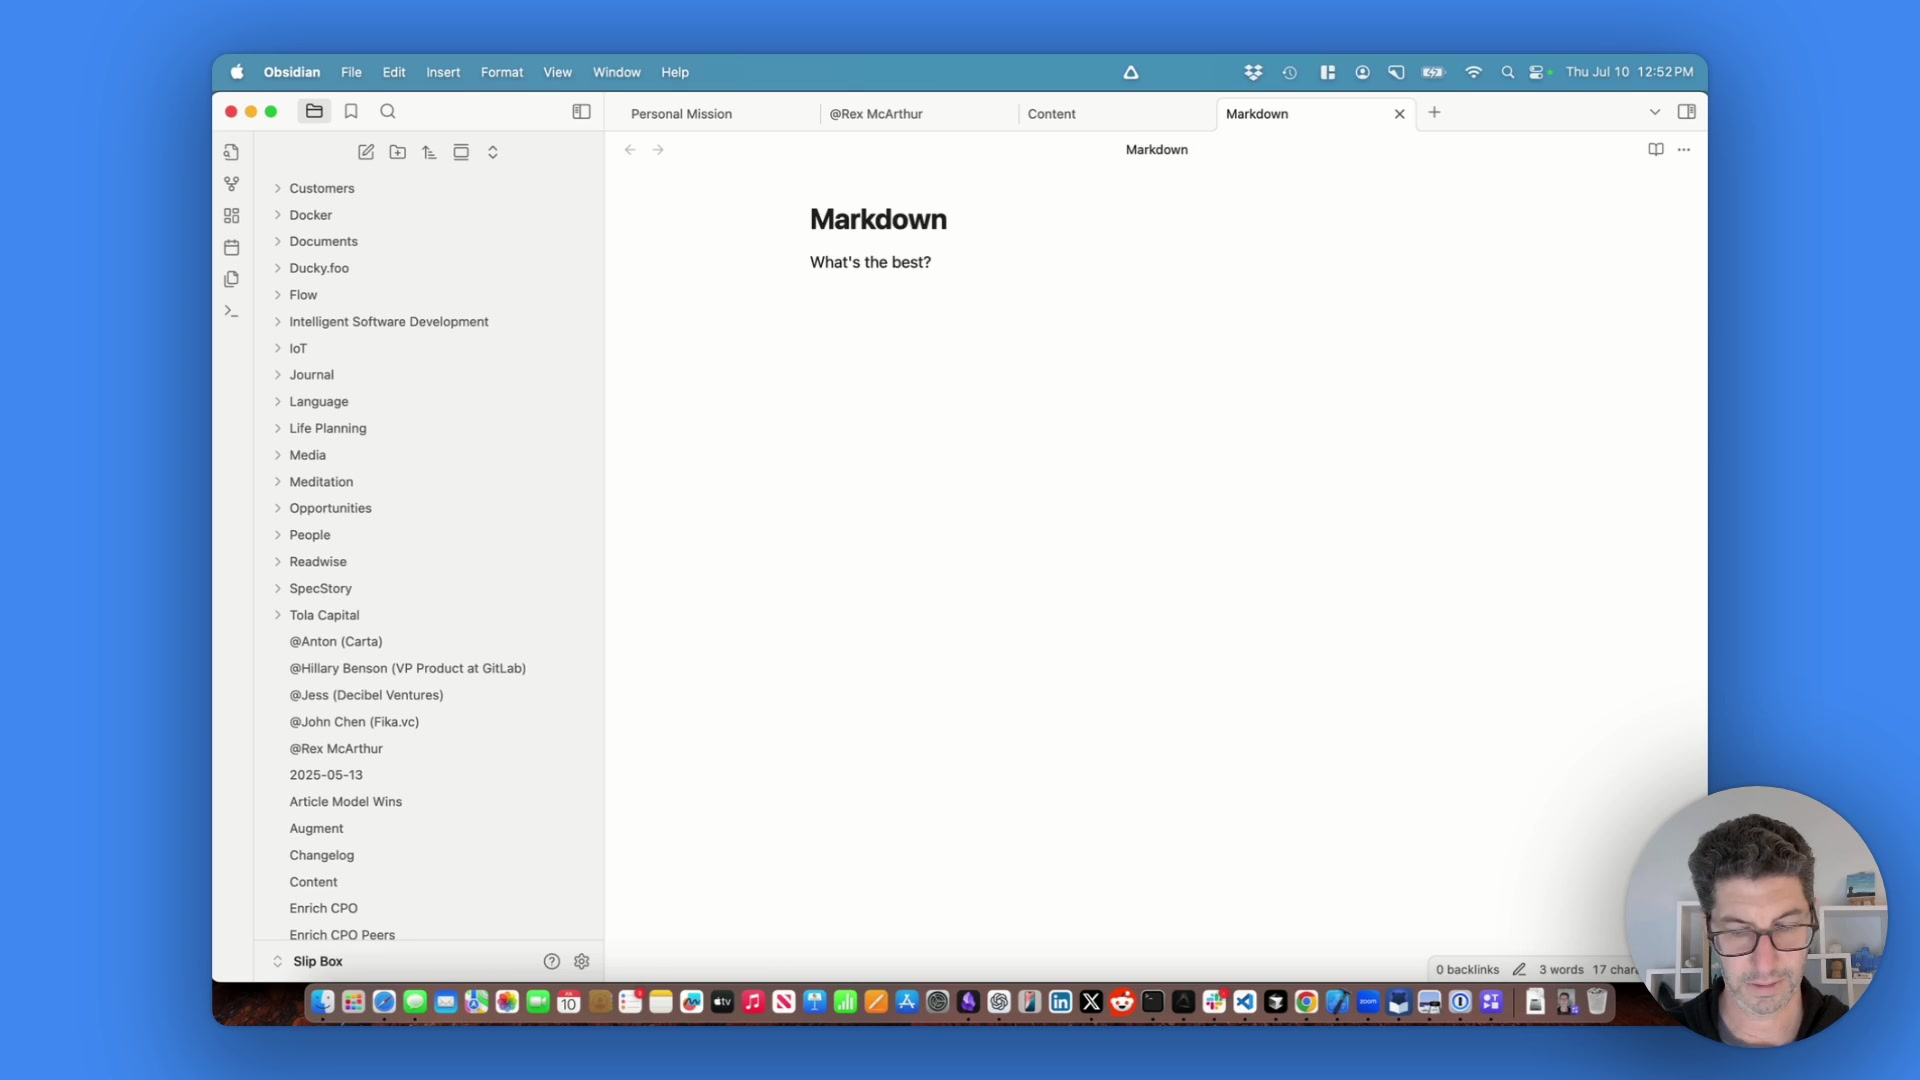
Caption: The editing experience in Obsidian, powered by CodeMirror 6, is the goal for TinyDocs.
Finalizing the Stack
After the research phase, we settled on a modern, robust tech stack:
-
Language/Framework: TypeScript and Next.js
-
Cloud Services: Vercel (Hosting), Supabase (Database, Auth, Storage), Resend (Transactional Emails)
-
Key Packages:
next-mdx-remote: To render MDX content fetched at runtime (e.g., from a database or a Git repo), which is crucial for our dynamic editing features.@octokit/rest: The official GitHub client for Node.js to handle syncing with repositories on the backend.codemirror: The core of our rich text editor.
Phase 2: From Plan to Running App
With a solid plan in hand, it was time to bring TinyDocs to life. We used our AI coding agent, Claude Code, to turn our specification document into a running application.
Generating the Initial Tasks
First, we prompted the AI to create a task list for the initial development session. The goal was to get a minimal "Hello World" page up and running.
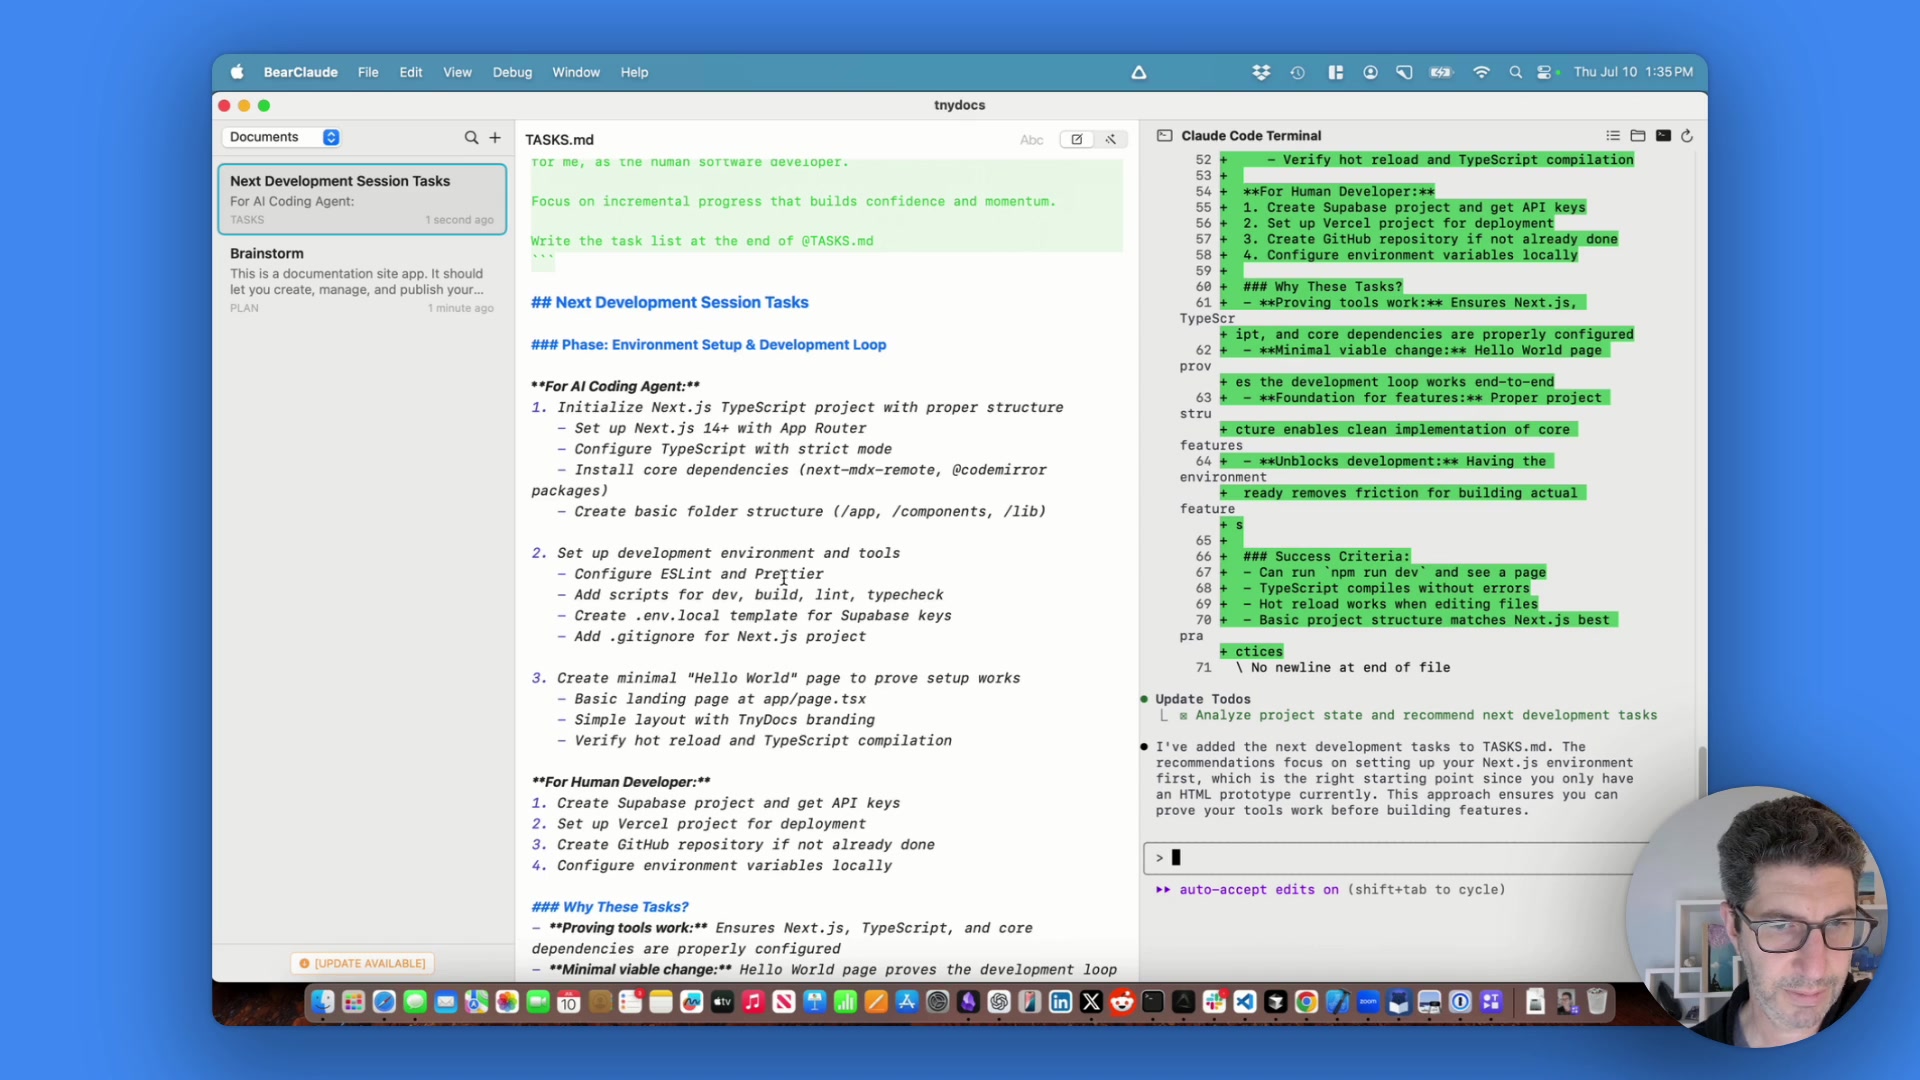
Caption: The AI breaks down the plan into a concrete, actionable task list for the initial setup.
Scaffolding the Next.js Project
We instructed the AI to initialize a new Next.js project. This is where we hit our first, very common, real-world snag.
Common Pitfall: AI agents can sometimes struggle with project scaffolding commands like create-next-app, often creating nested subdirectories or misconfiguring files. It's a known challenge in agentic development. In our case, the agent initially failed to run the command correctly.
Solution: We took a step back and prompted the agent to let us initialize the project manually. This is a great pro-tip: sometimes it's more efficient to handle initial setup yourself and then let the AI work within that established structure.
After a bit of back and forth, the AI successfully set up the project structure, installed dependencies, and created a basic landing page.
Debugging a Build Error
With the files in place, we ran the development server:
npm run dev
And... we hit another snag! A build error related to Tailwind CSS.
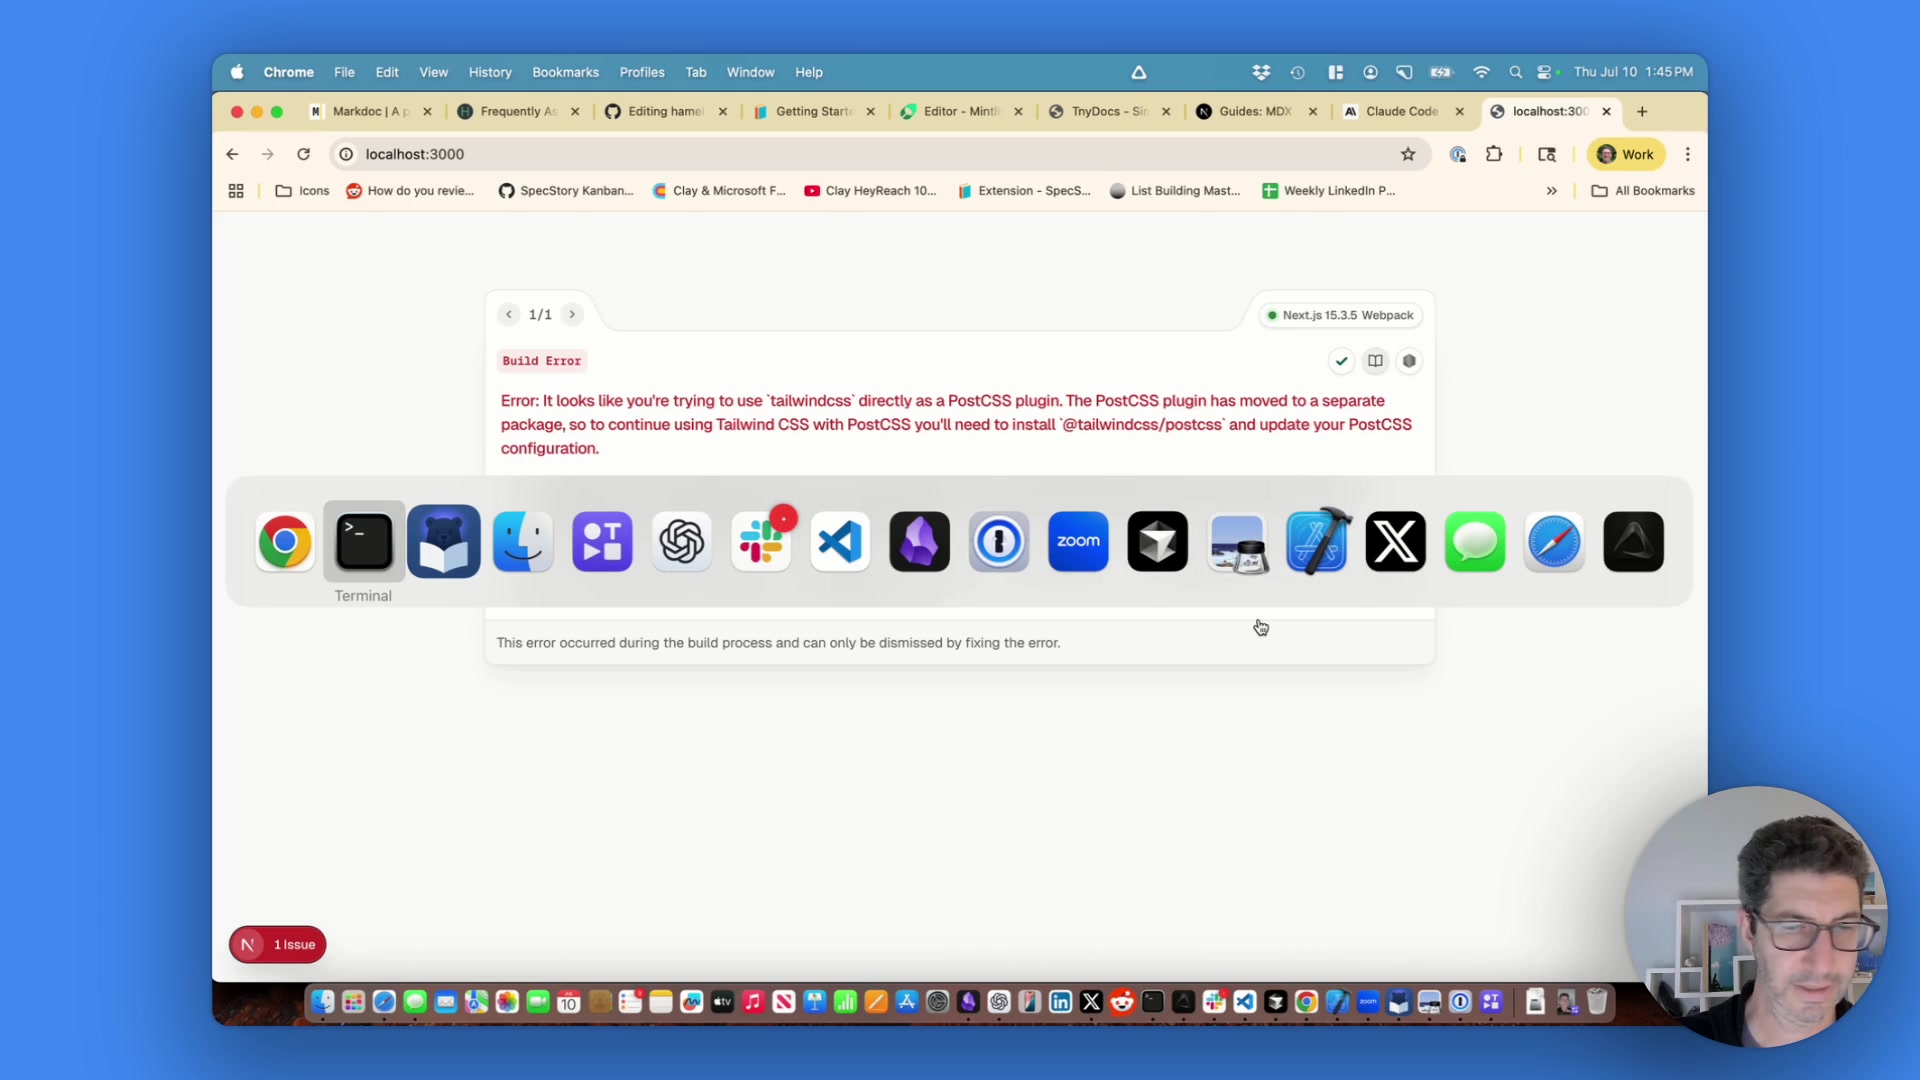
Caption: Encountering and debugging build errors is a natural part of the development process, even with an AI partner.
This error occurs because the PostCSS plugin for Tailwind was not configured correctly during the manual setup. This is exactly the kind of issue that create-next-app usually handles automatically. Fortunately, the AI was able to identify the problem and fix it by installing the correct dependencies (tailwindcss, postcss, autoprefixer) and creating the necessary configuration files.
After the fix, we restarted the server, and success! We had a live, running landing page for TinyDocs.
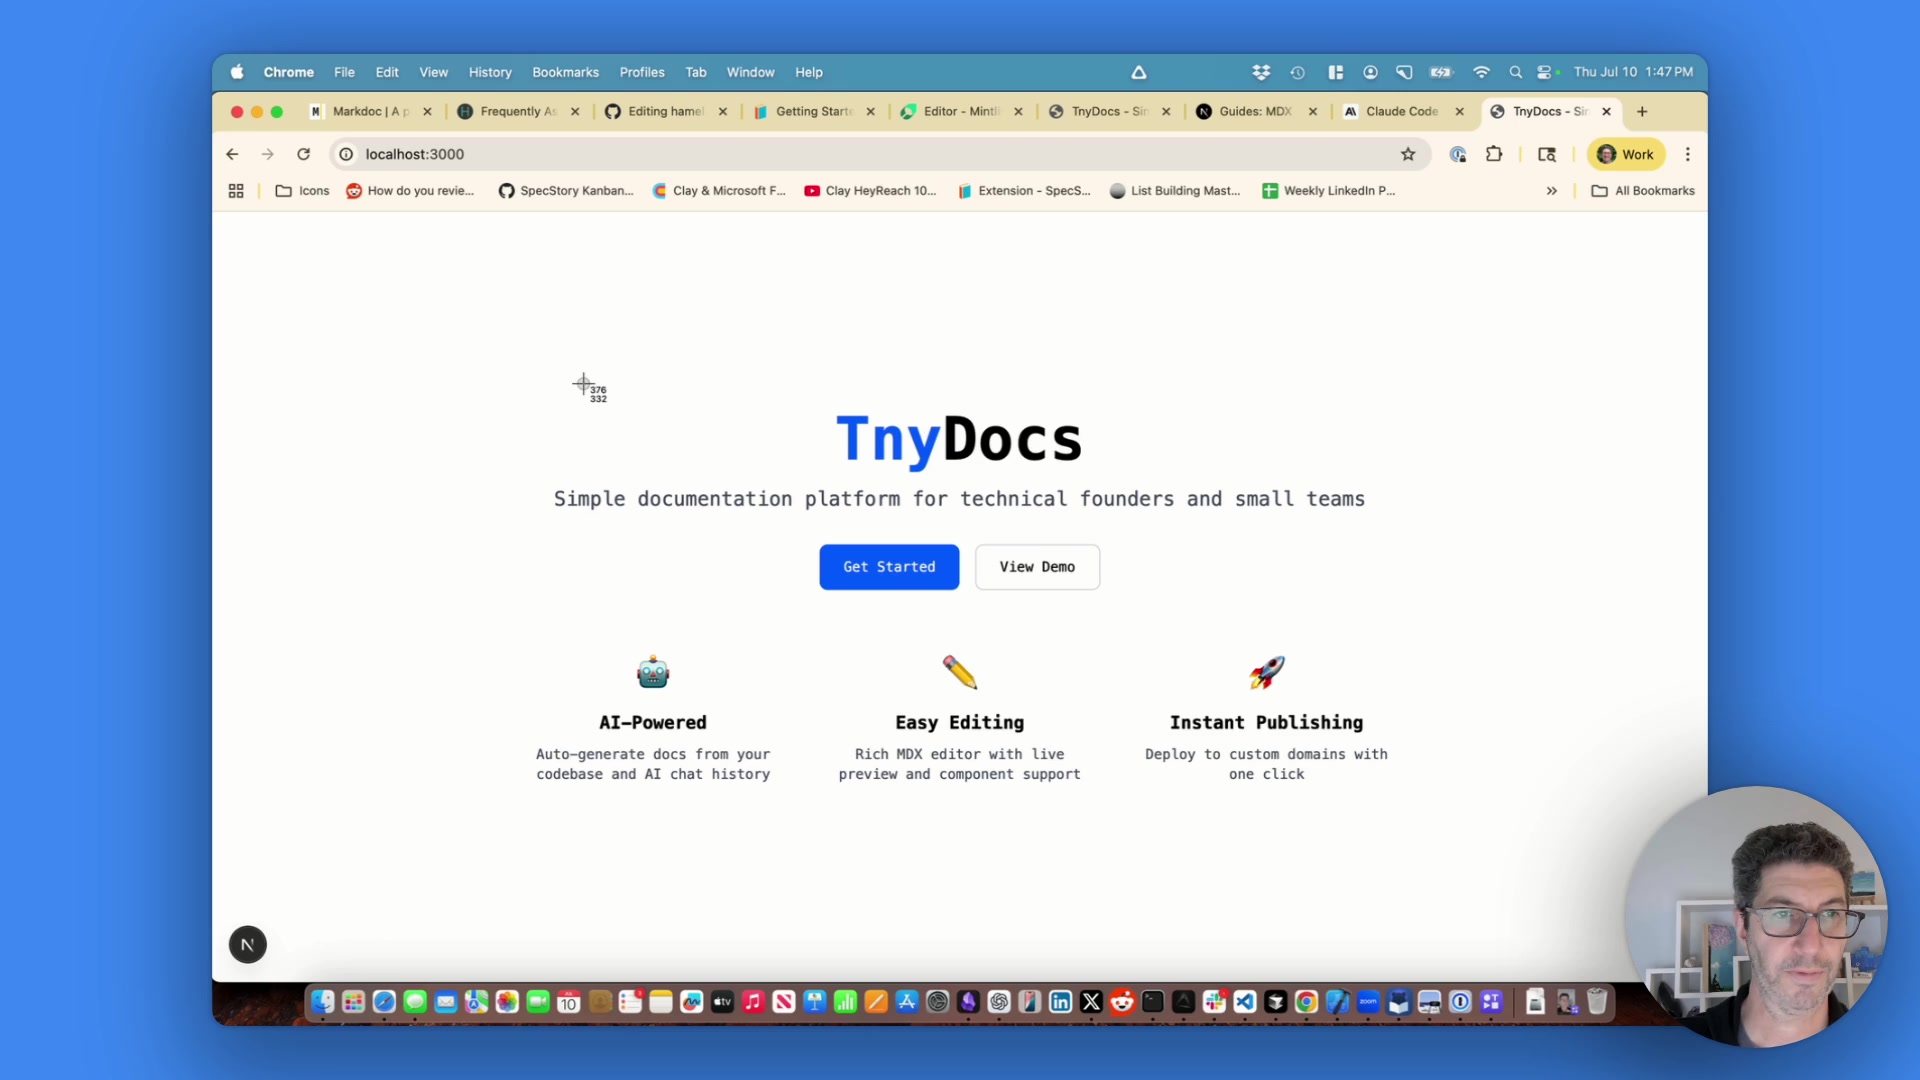
Caption: Success! The minimal viable product is up and running locally.
Phase 3: Committing to GitHub
The final step for this initial session was to get our project under version control and pushed to GitHub.
The Importance of .gitignore
Before running git init, we prompted the AI to create a comprehensive .gitignore file for a Next.js project. This is a crucial step to prevent committing unnecessary files like node_modules or local environment variables (.env.local).
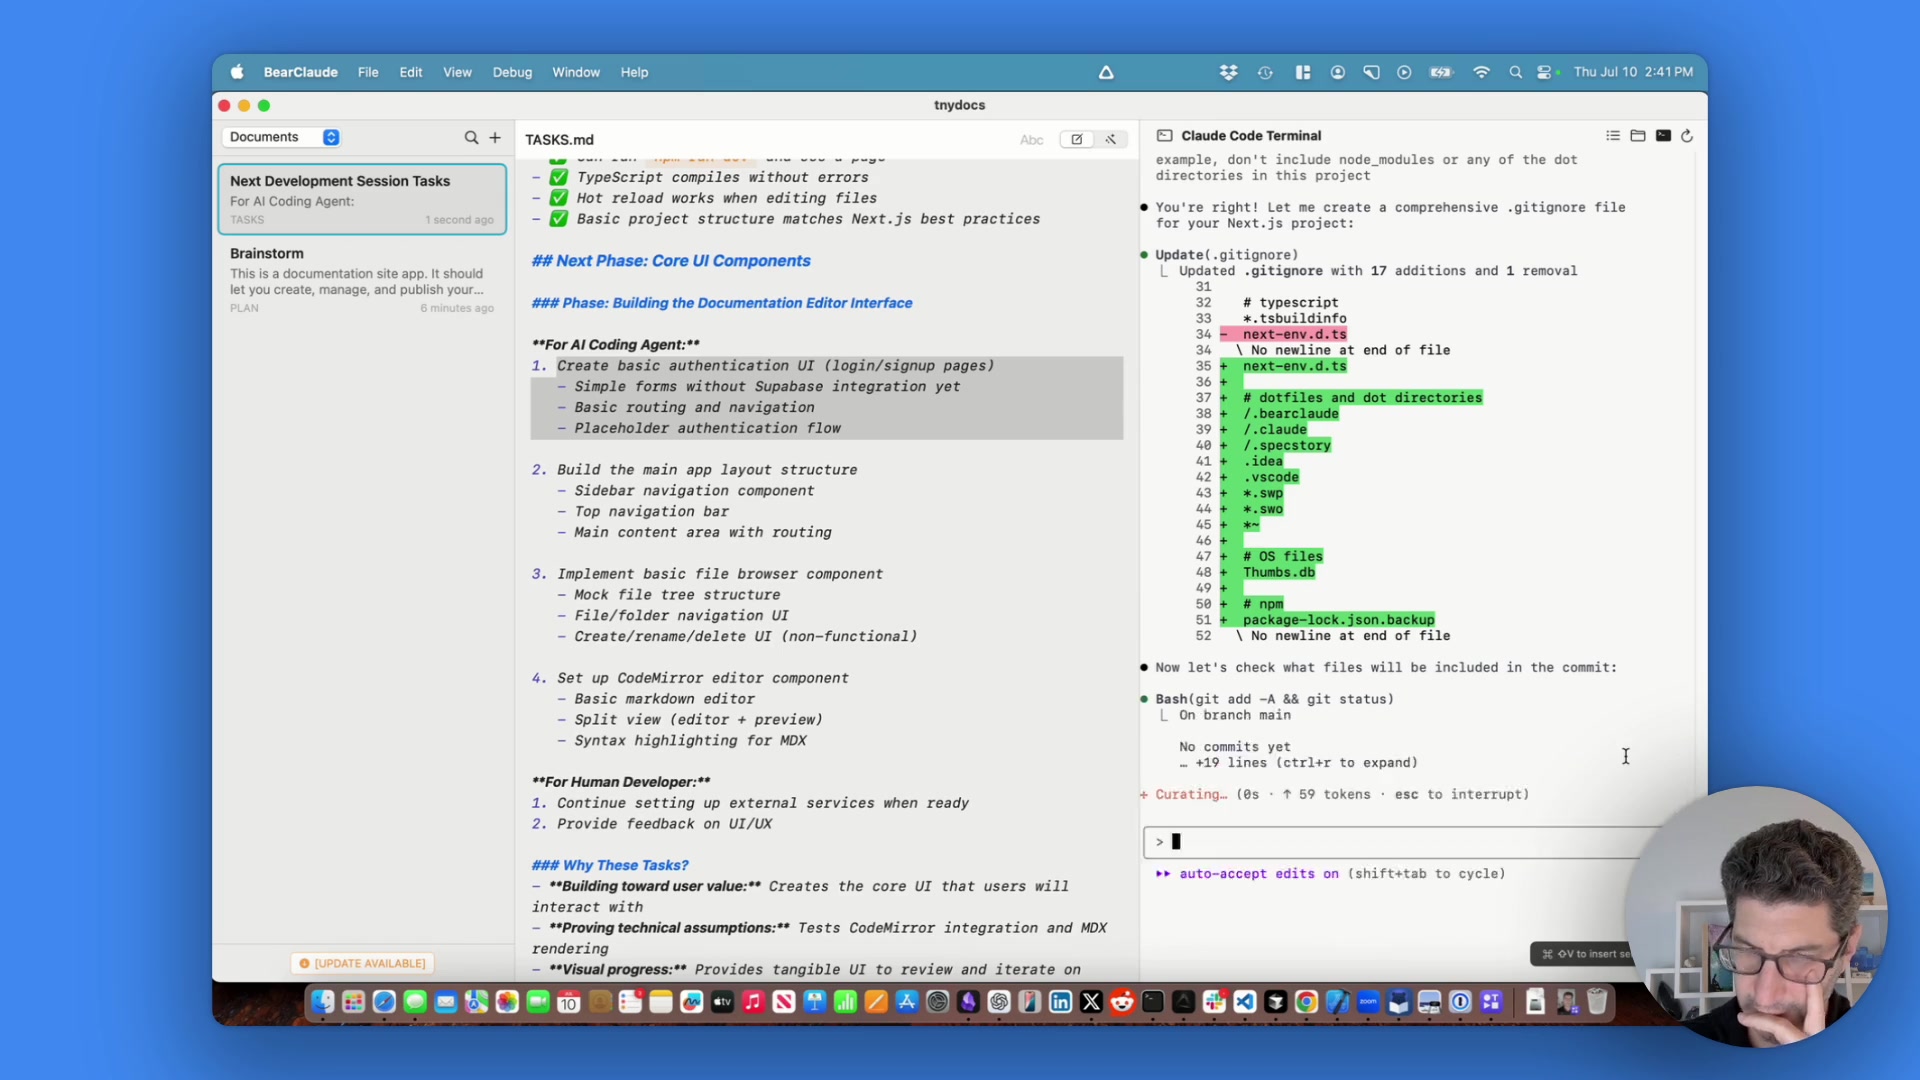
Caption: A good .gitignore is essential. The AI helps create a comprehensive one to avoid committing unwanted files.
Creating the Repository and Pushing
With the .gitignore in place, the AI walked us through the standard Git workflow:
-
Initialize the local repository (
git init). -
Stage all the files (
git add .). -
Make the initial commit (
git commit -m "Initial commit"). -
Create a new repository on GitHub.
-
Add the remote origin and push the
mainbranch.
As a final touch, we asked the AI to generate a README.md file based on our project plan. This instantly populated our new repository with useful information about the project's goals, tech stack, and roadmap.
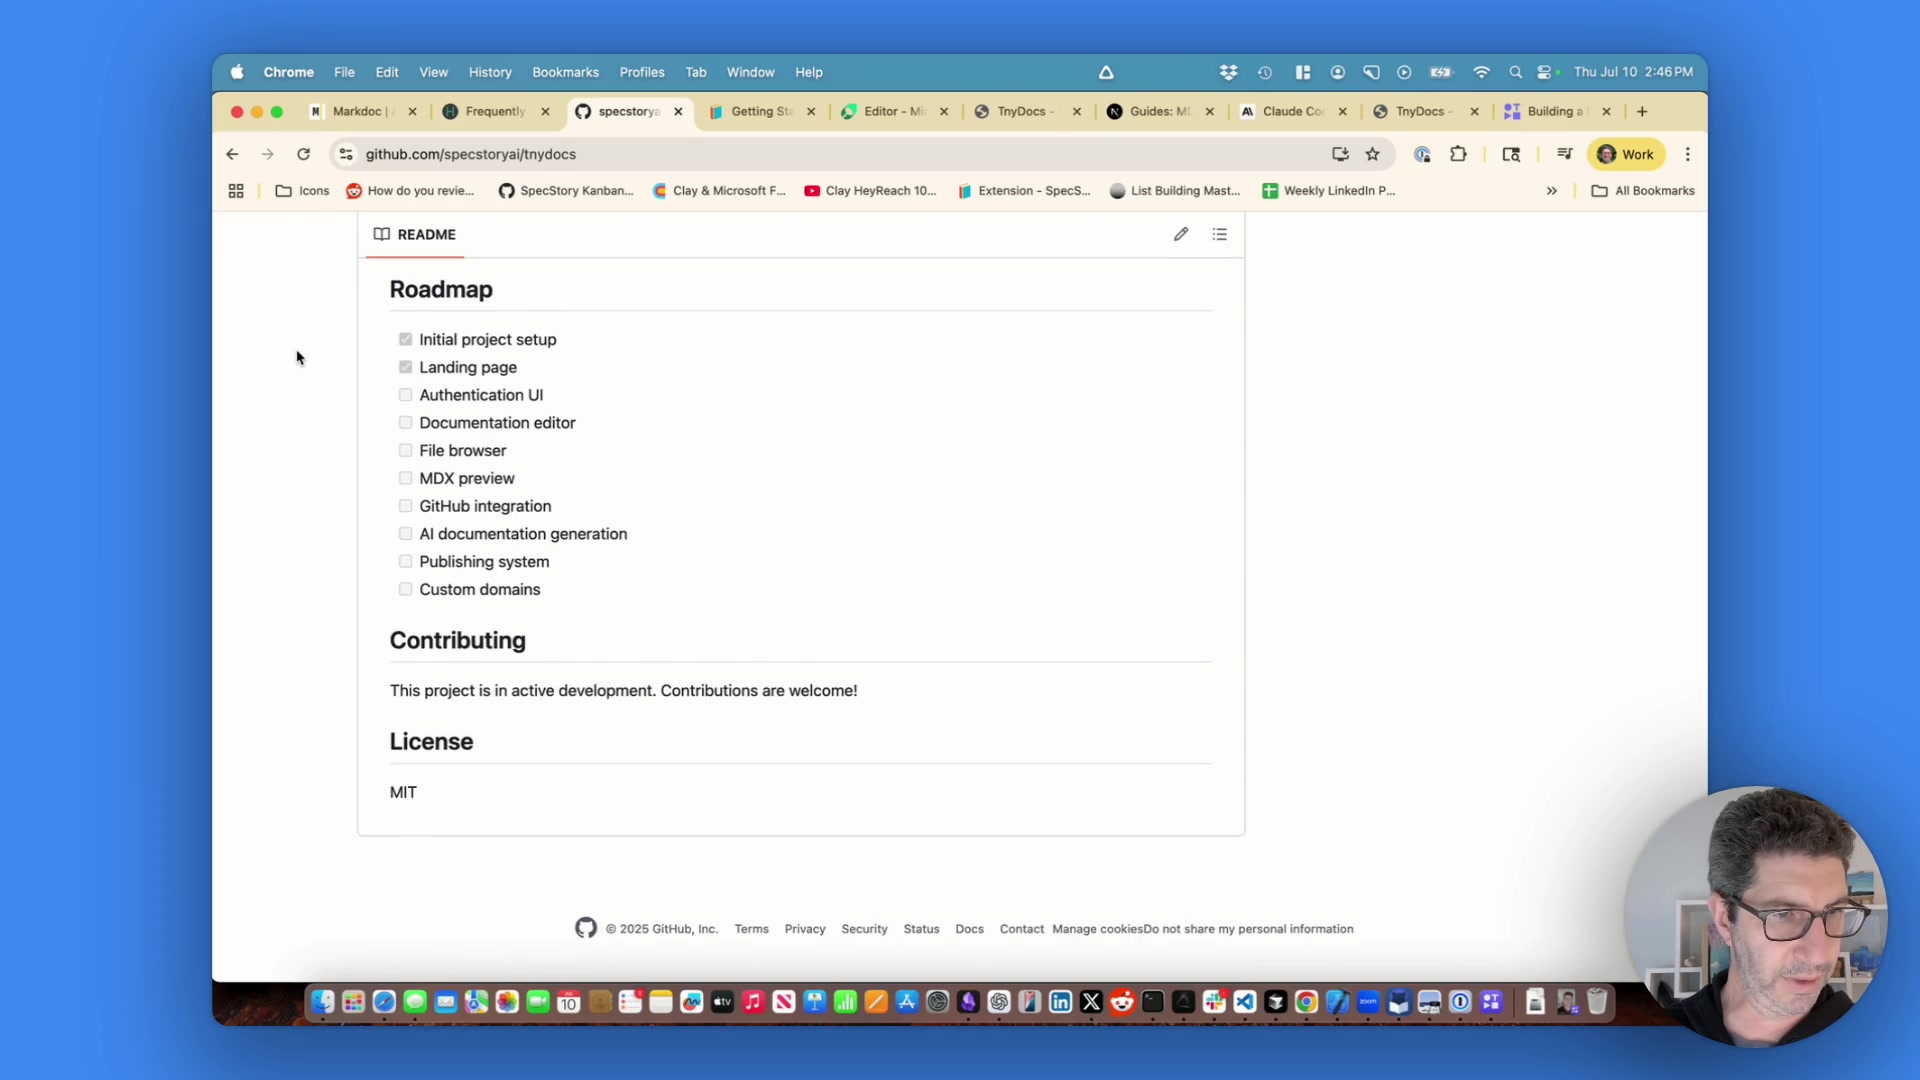
Caption: The project is now safely stored on GitHub, complete with a generated README.
Conclusion and Next Steps
In less than an hour, we went from a simple idea to a fully planned and prototyped application. We have a running Next.js project, a solid tech stack, and our code is safely on GitHub. This process highlights the power of using AI not just as a code generator, but as a partner in planning, research, and debugging.
The key takeaways from this initial session are:
-
Plan First: A structured planning phase leads to a better-defined project and more accurate AI-generated code.
-
Research is Key: Use AI to quickly compare technologies and make informed decisions about your tech stack.
-
Embrace the Mess: Development is iterative. Expect and embrace small failures and debugging cycles, even with AI assistance.
-
Know When to Intervene: Don't be afraid to perform simple tasks like project scaffolding yourself if the AI struggles.
This is just the beginning for TinyDocs. The foundation is laid, and the next steps will involve building out the core features we defined in our plan: user authentication, the CodeMirror-based editor, MDX rendering, and GitHub repository integration.
You can view the final code for this session in the TinyDocs GitHub repository. Stay tuned for the next part of the series